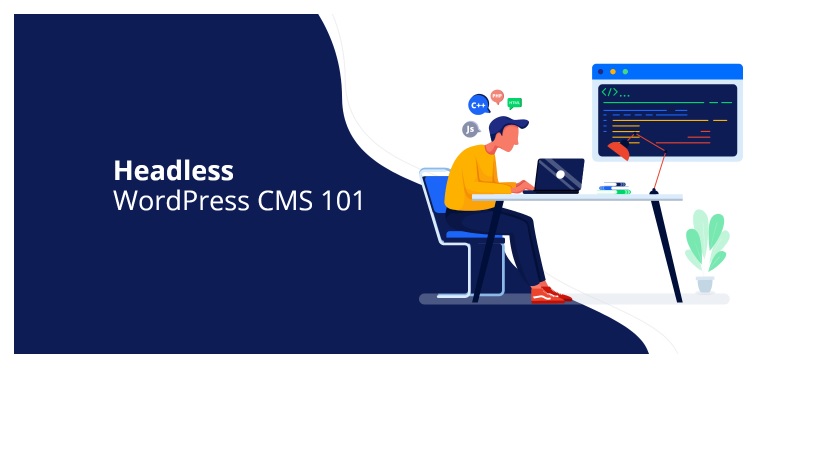
What Is Headless WordPress?
Being ‘Headless’ does not imply that the CMS does not have a header section. It means that you may utilize the CMS as a general content management system regardless of the front-end technology employed.
Rest API allows developers to communicate with interfaces from other technologies as long as they both speak the same JSON language. The WordPress Rest API returns data in JSON format, which is compatible with a wide range of web technologies. JSON is a text-based format of JavaScript objects that contains key-value pairs of data.
The benefit of Using Headless WordPress CMS
WordPress, as an open-source platform, provides a lot of freedom in terms of creating any type of website. Using Headless WordPress Themes as a headless CMS allows you to use any web technology to build the front-end of your online application and manage its content using one of the most popular CMS. You could find yourself in a position where you need to add a blog feature to an existing React or Angular web project. Instead of creating a full-fledged content management system in the local framework, utilize the Rest API to manage content with the headless WordPress CMS.
Setting up a WordPress Site
Download the WP-Rest API plugin’s zip file from git and place it in the plugins folder of your WordPress installation. Activate the plugin when the file has been uploaded. Within your WordPress website, this will enable the WordPress Rest API.
Go to Permalinks Settings and choose either Post name or Custom Structure. Because we’ll be working with API requests, install the Postman Chrome plugin.
Create custom post types using the Custom Post Type UI plugin. When we utilize WordPress with React in the following phase, this custom post will be shown. After you’ve installed and activated the plugin, go ahead and create a new post type. I’ll be making a new post type for Books in this tutorial. Type the name of your custom post in the Post Type Slug.
Make sure the Show in REST API option is checked, as well as the REST API base slug. If you want to utilize WordPress as a headless CMS, you’ll need to do this. Fill in all of the boxes for the data you want to obtain via the REST API. After you’ve saved your modifications, you’ll see that the sidebar has been updated with a new option. To add the new Book to your custom post type, click on it.
Try hitting the URL with Postman to see if the data is available through the API. The URL should now be something along the lines of https://exampe.com/wp-json/wp/v2/books.
Using ACF and ACF to RestAPI plugins, we can additionally add other fields like Publisher. Both plugins must be installed and activated. Because ACF does not communicate to the WordPress Rest API by default, we must also install the ACF REST API plugin. Within my custom post type, a new field has been added. That was all there was to it for setting up WordPress to transmit data to our ReactJS web app.
Getting Started with React
Facebook and the developer community maintain React, a JavaScript library for the web. JavaScript is a strong tool for web development, and there are some libraries created in the language to improve the functionality of websites. ReactJS is primarily used to create quick, reliable, and dynamic single-page apps.
Setting up React App
The following requirements must be installed on your computer to develop React applications.
- NodeJS & NPM.
- Text Editor such as Sublime or Visual Studio Code.
- Git for version controlling (Optional)
After you’ve set up the environment, enter the command prompt and type the following code to make a ReactJS project. cd (change directory) to the application folder and execute the following command to install the Axios package for API calls after the app has been developed.
Open the folder in your preferred text editor now. Visual Studio Code is what is using. Run the command npm start to start the application. If everything goes well, we’ll be able to develop our React web application utilizing WordPress as a headless CMS. Create a new folder called ‘components’ inside the src folder, and a new file called ‘Books.js’ inside the ‘components’ folder.
Rendering Post Data on ReactJS
We’ll get the data via the WordPress Rest API in the Book.js file. The code that queries the Rest API end-point – in my instance, ‘/books’ – and shows the data in JSON format.
Displaying Post Data on ReactJS
By putting the code within the render method, the data may be shown. We’ll construct a new component called BookItems.js instead of showing data here since I want to keep it distinct from the parent component.


